Workflow/en — различия между версиями
(Новая страница: «After you have completed all the preliminary steps and know exactly what should happen in your shot, go to planning your animation in '''Maya'''. <br> Be sure to…») |
|||
| (не показана 1 промежуточная версия этого же участника) | |||
| Строка 72: | Строка 72: | ||
=== Blocking+ === | === Blocking+ === | ||
| − | + | Here you are detailing your animation, but you are still working in '''stepped mode'''. Some more subtle movements can be implemented in '''spline mode''', to show the nuances if necessary. <br> | |
| − | + | At this stage, you need to show all the accents and nuances of your future animation. | |
| − | + | Once you get the approval of this stage, you can move on to the splines. | |
=== Spline === | === Spline === | ||
| Строка 91: | Строка 91: | ||
<br> | <br> | ||
| − | [[Project_RL|🔙 back]] | + | [[Project_RL/en|🔙 back]] |
Текущая версия на 13:49, 29 апреля 2021
Содержание
Recommended Workflow
In order to avoid unnecessary work and a large number of edits from our supervisor, we recommend the following simple procedure for working with the shot:
Screenplay and description
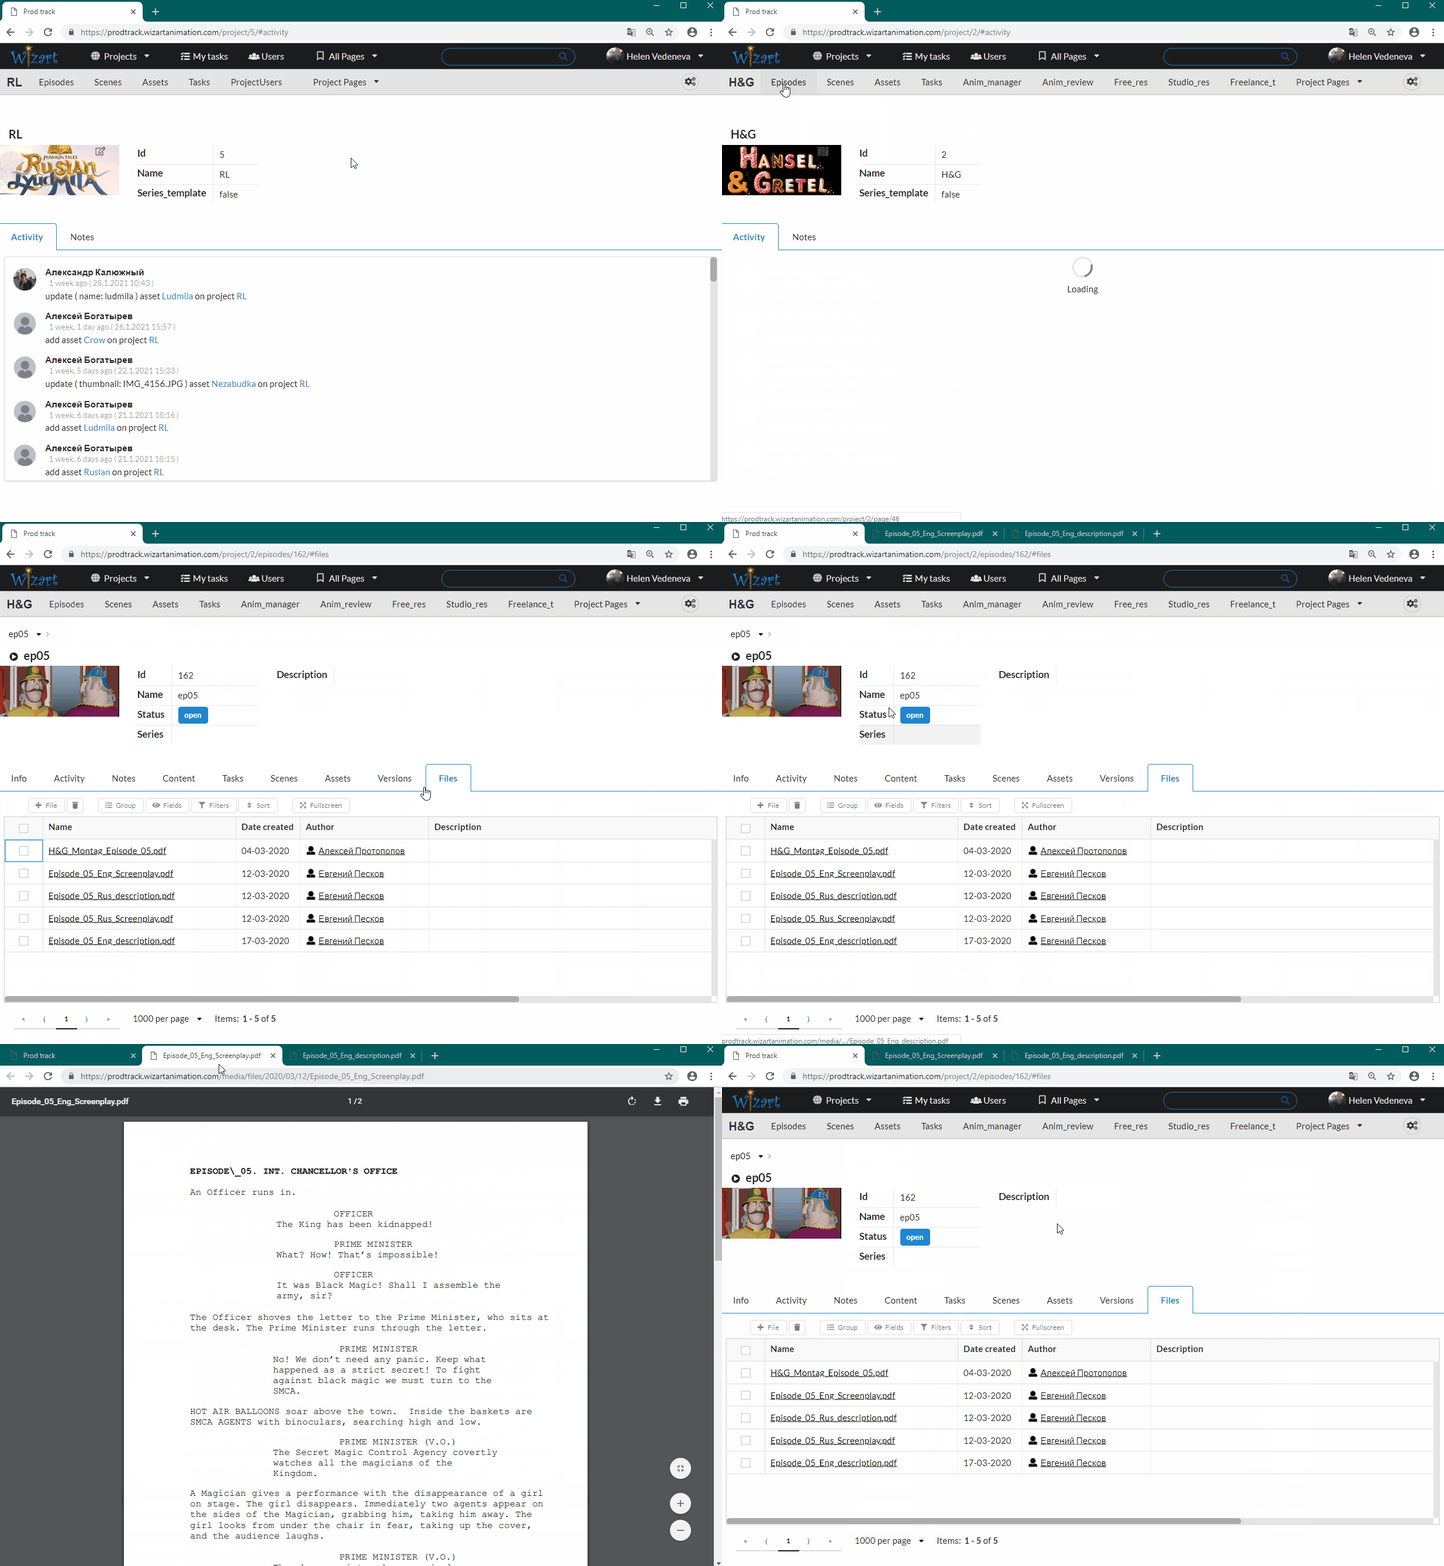
Start working with your shot by reading the script and the description of the shots for the episode you are working on. You can always find these documents in the following path:
- Open Prodtrack.
- Select your project in the Projects tab.
- In the Episodes tab, open the required episode.
- The Files tab stores all the necessary text files for the episode (script, description, and montage sheet).
2D and 3D animatics
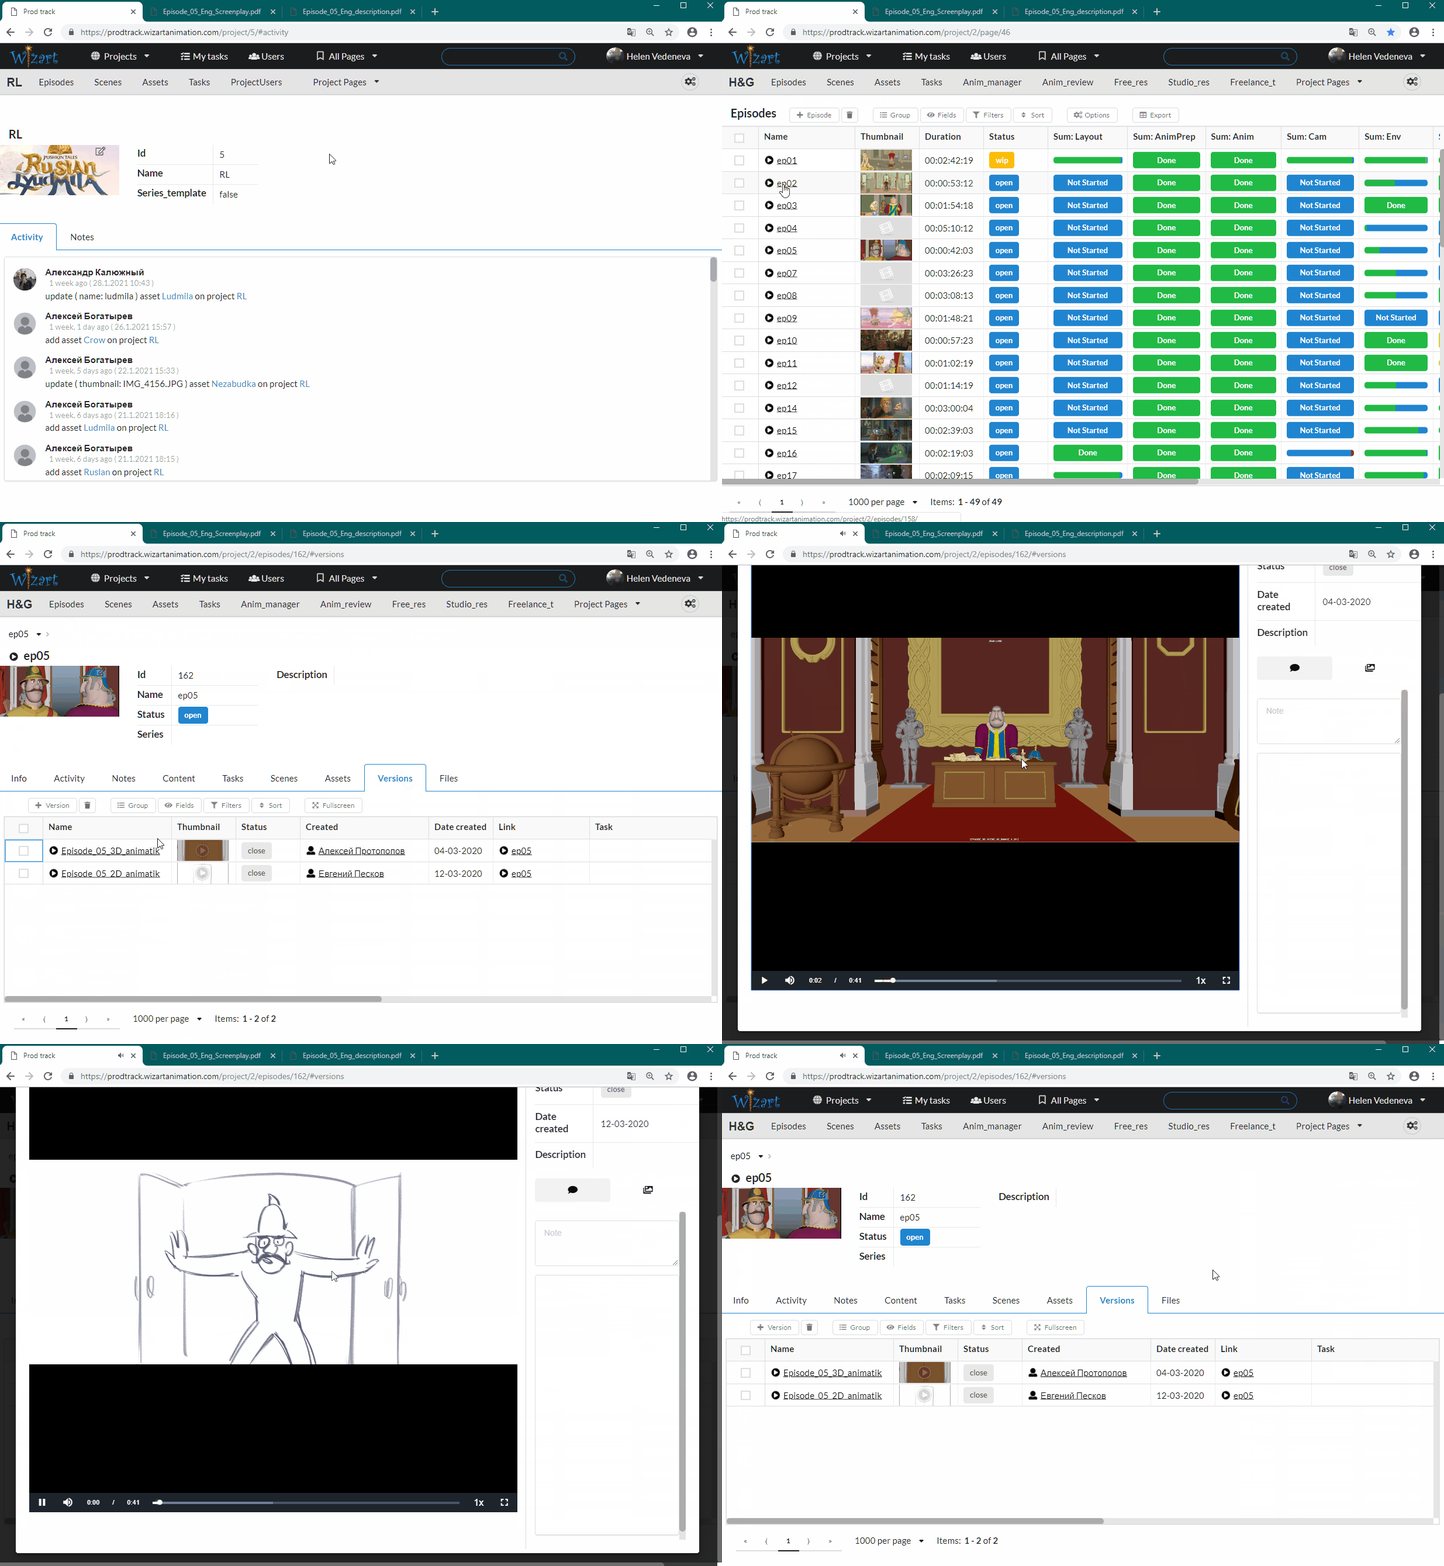
Once you've read the script and understand what's going on in the episode, it's time to find out how it's happening!
Usually 2D animatics best shows the idea of the director and the emotions that he wanted to convey. 3D Animatic shows more how the scene should be constructed compositionally.
Animatics are stored in the Versions tab of the episode.
Video reference
We record the performance of professional actors on our video references, under the strict guidance of the Director, do not be afraid to follow them! 🤭
We record our video references in order to help you make the body mechanics in your shot more correct. An example of working correctly with the ref will be shown below.
Sometimes there are situations when what happens on the video reference differs from what happens on the 3D layout of your shot, in this case, it is better to write to your coordinator and specify what you should follow when animating.
There are also situations when there will be no video reference for your shot (usually this is due to the fact that the body mechanics in this shot are too complex for the actors), in this case, follow what is on the animatics.
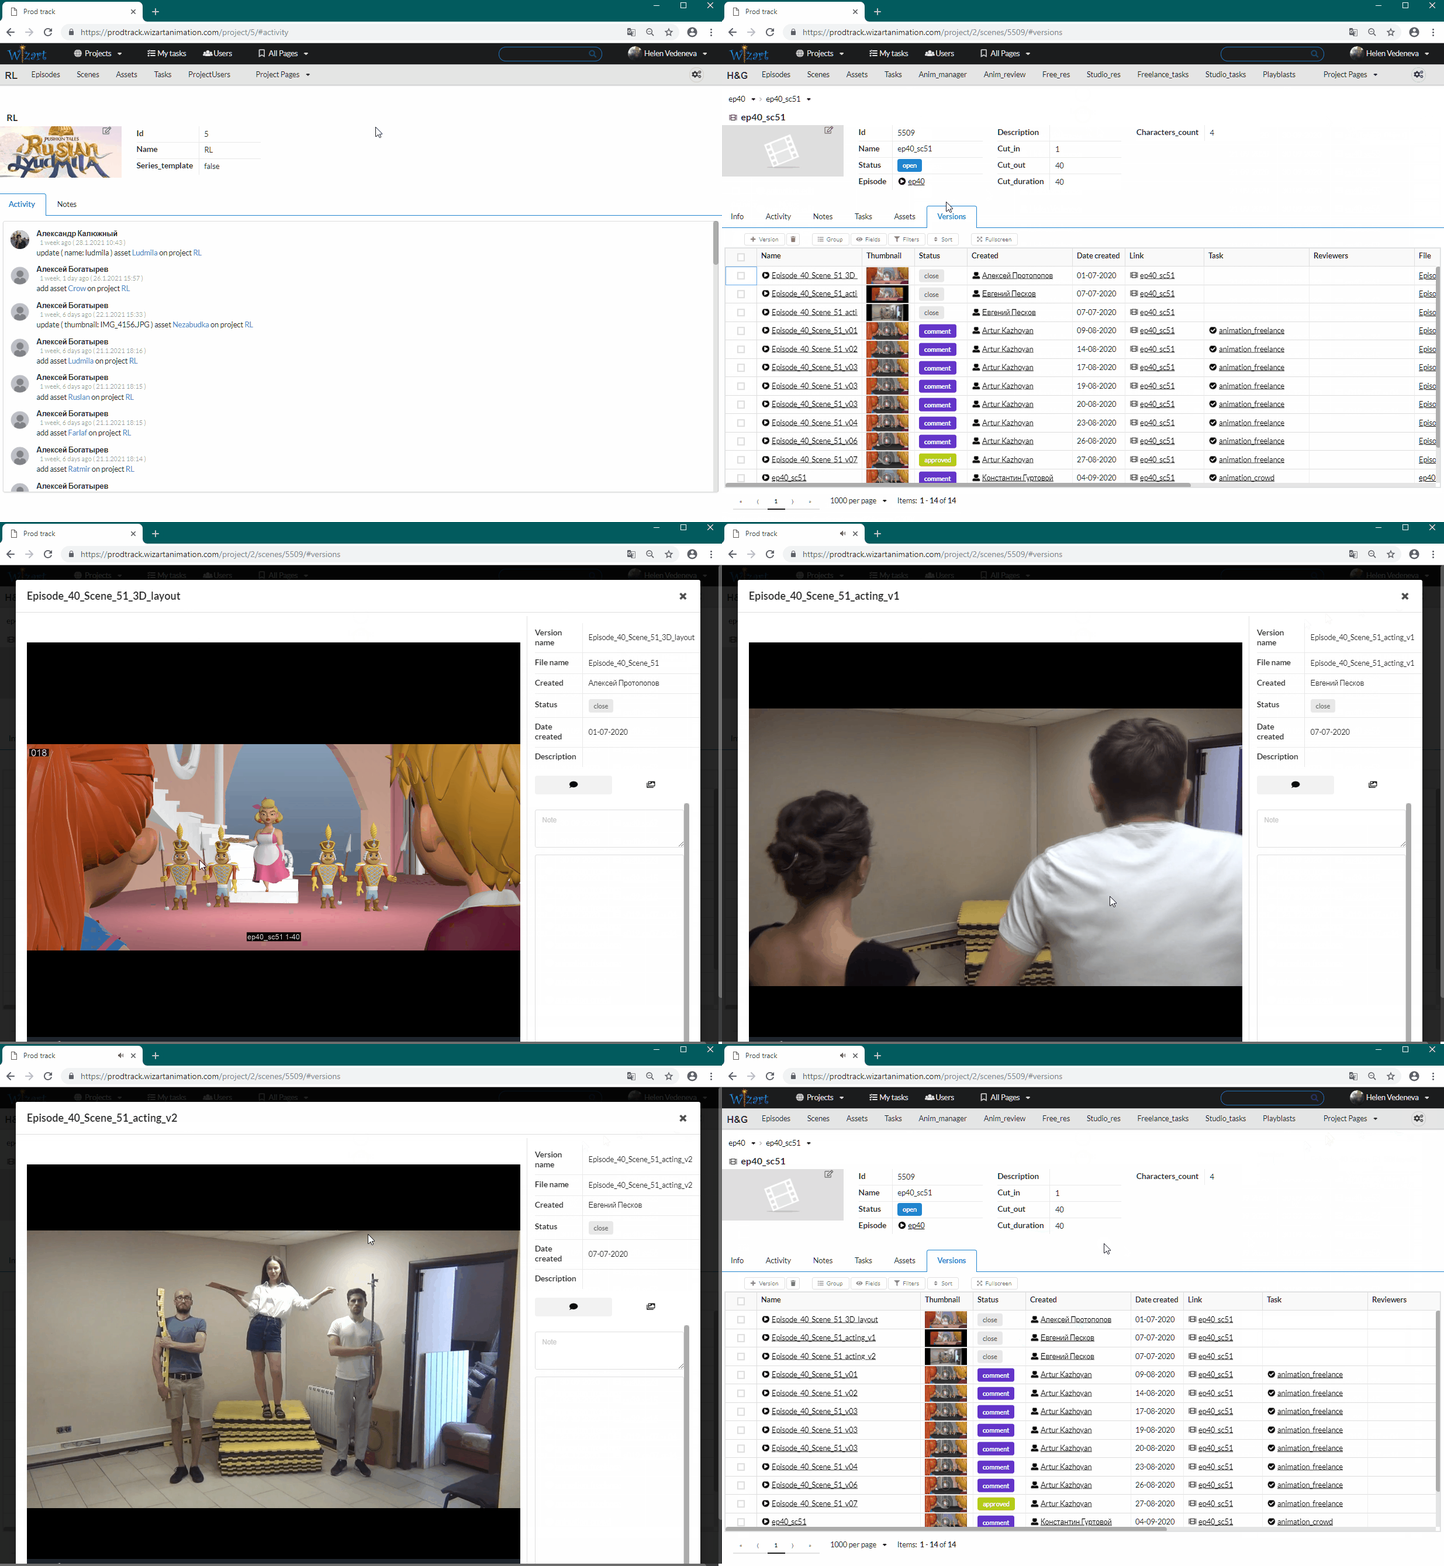
You can find the video reference and 3D layout for the shot by following the path:
- Open Prodtrack.
- Select the tab with your tasks My Tasks.
- In the link field, click on the number of the shot you need.
- And on the Versions tab, find the 3D layout and video references (there can be one or more).
Character Description
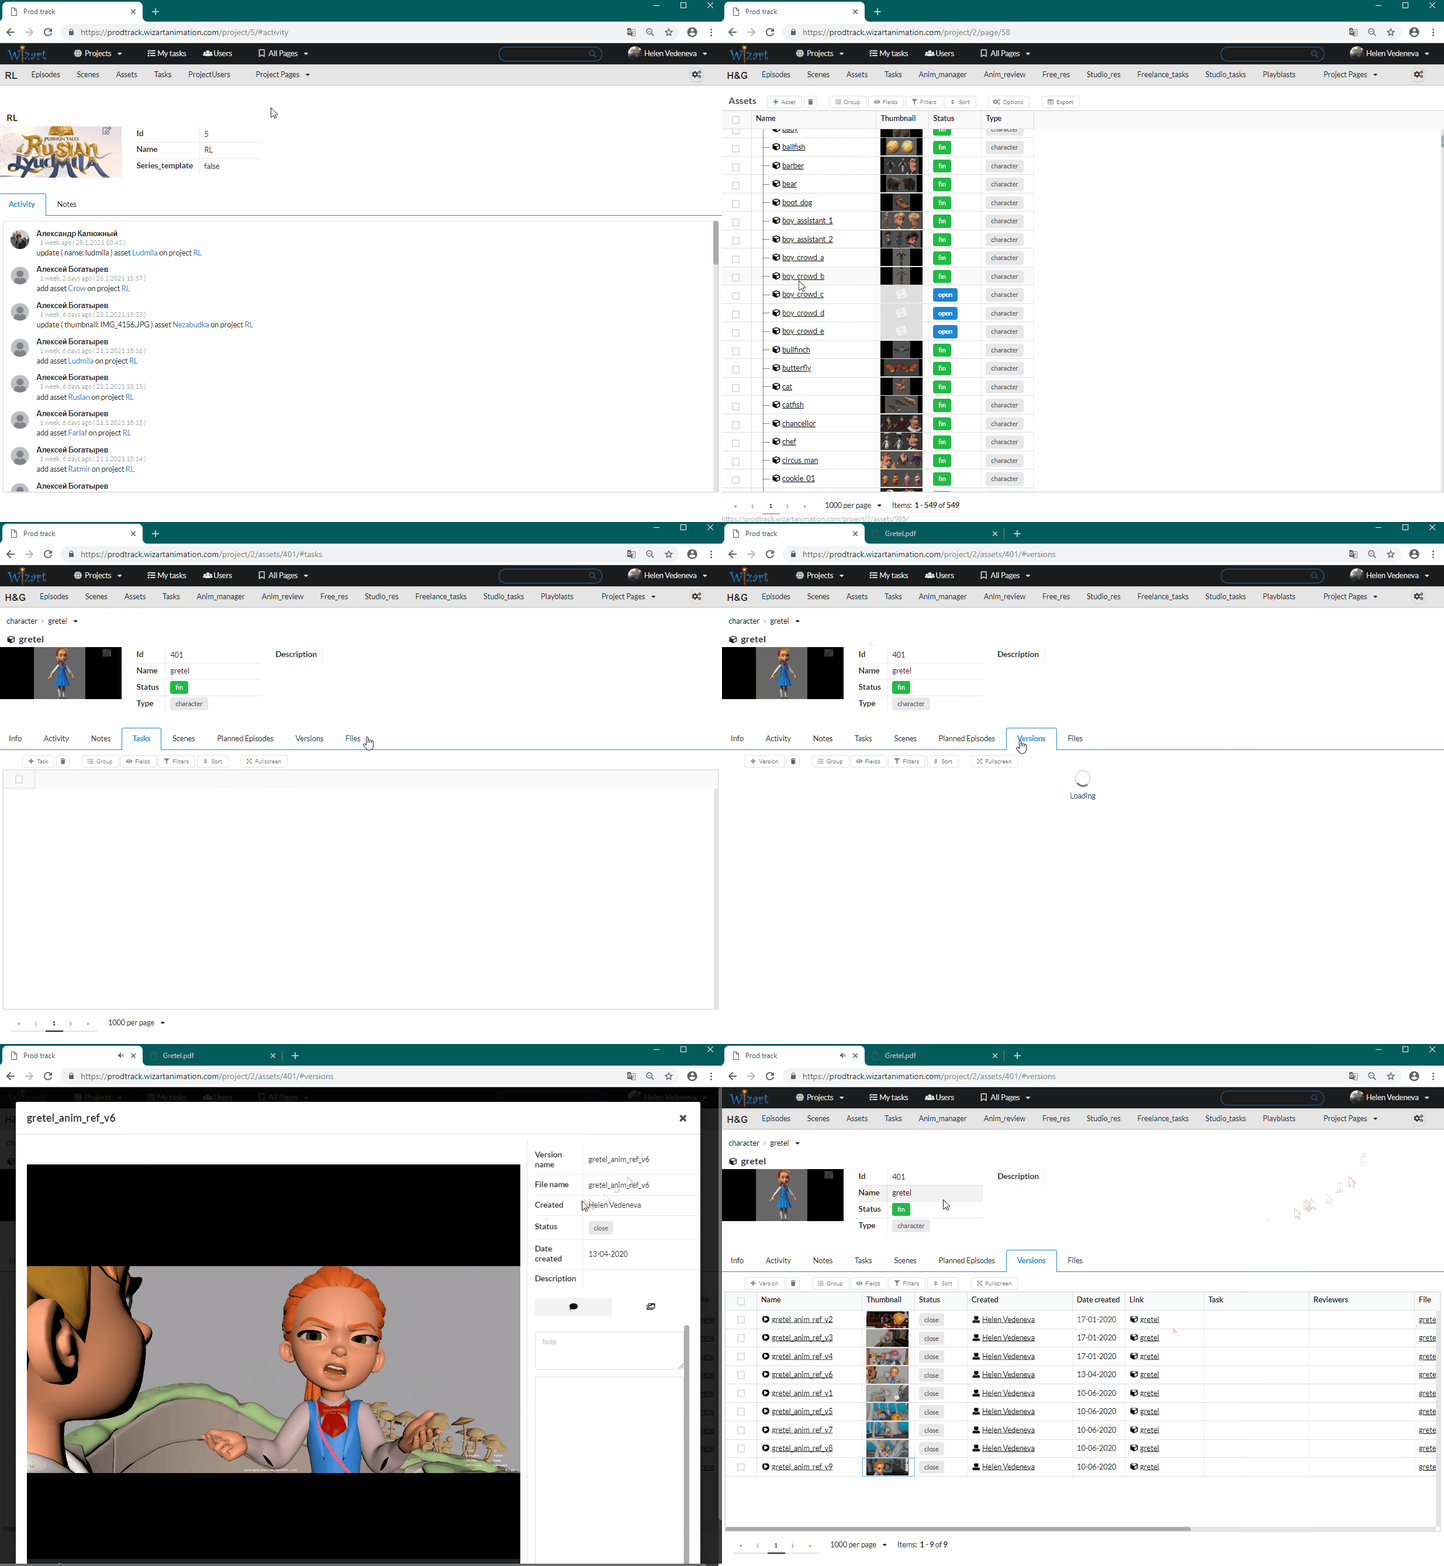
If you are working with a character for the first time, then in order to get better acquainted with its character and how it is characteristic to move, you can see its description and examples of animations.
- Open Prodtrack.
- Select the Assets tab and search for the character you need, or use the search by simply entering its name.
- The text description of the character is stored in the Files tab, and the video examples are stored in the Versions tab.
Blocking stage
After you have completed all the preliminary steps and know exactly what should happen in your shot, go to planning your animation in Maya.
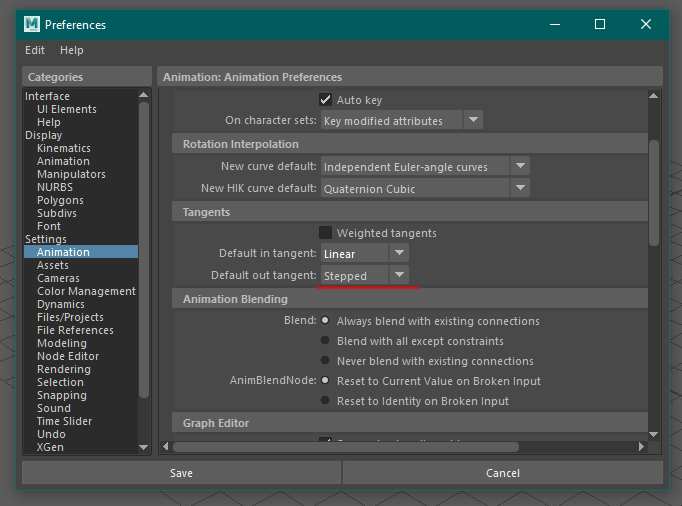
Be sure to do blocking in stepped mode, so that we can see the timing and spacing of your animation.
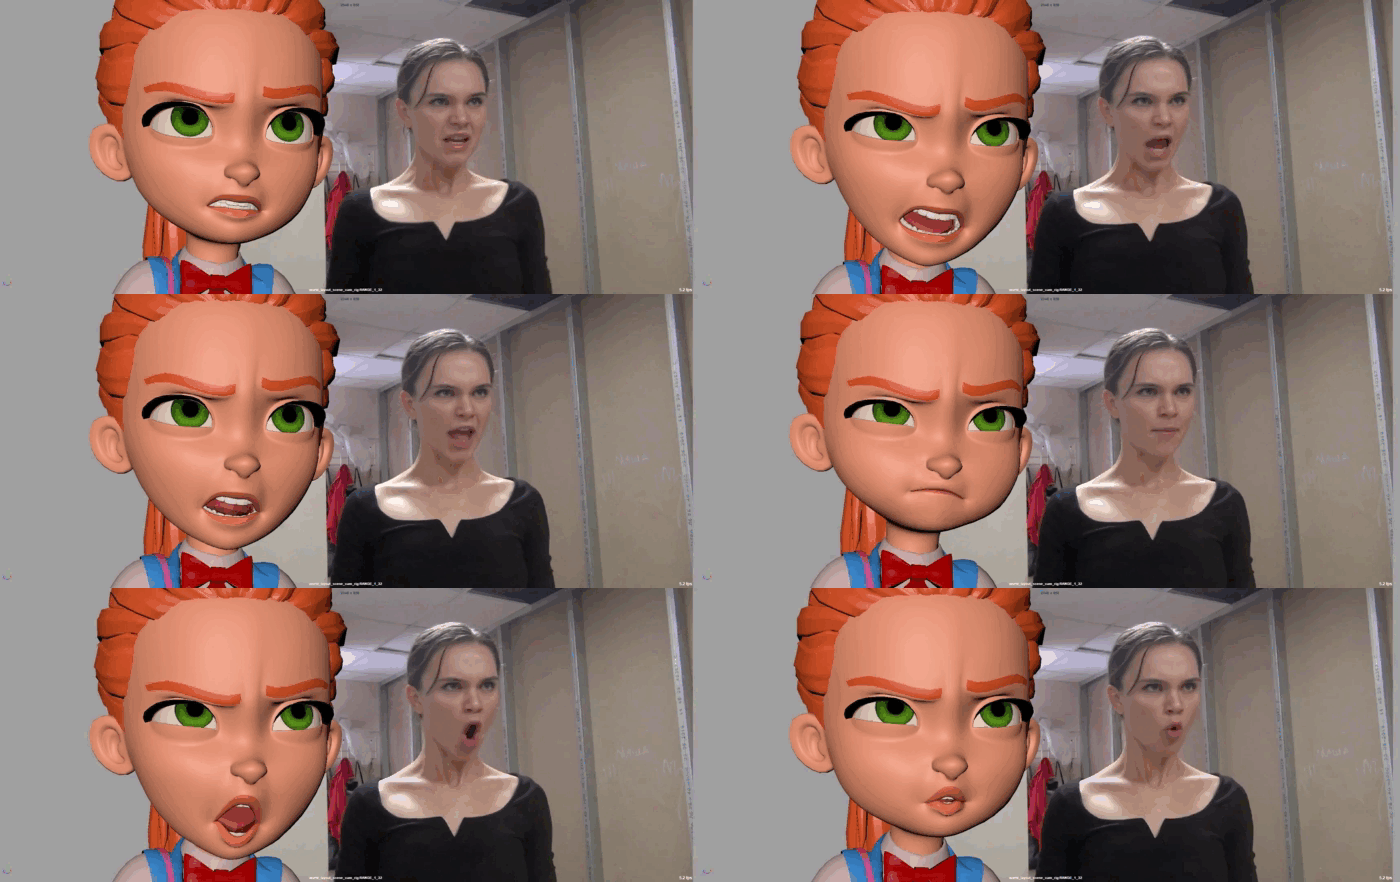
Below is an example of excellent work with the video reference at the blocking stage. You don't need to repeat what is happening on the video reference exactly!
Strengthen the poses, improve the acting, let the animation be the animation, don't do the rotoscope! 😉
Only after your blocking stage is approved, proceed to the next stage.
Blocking+
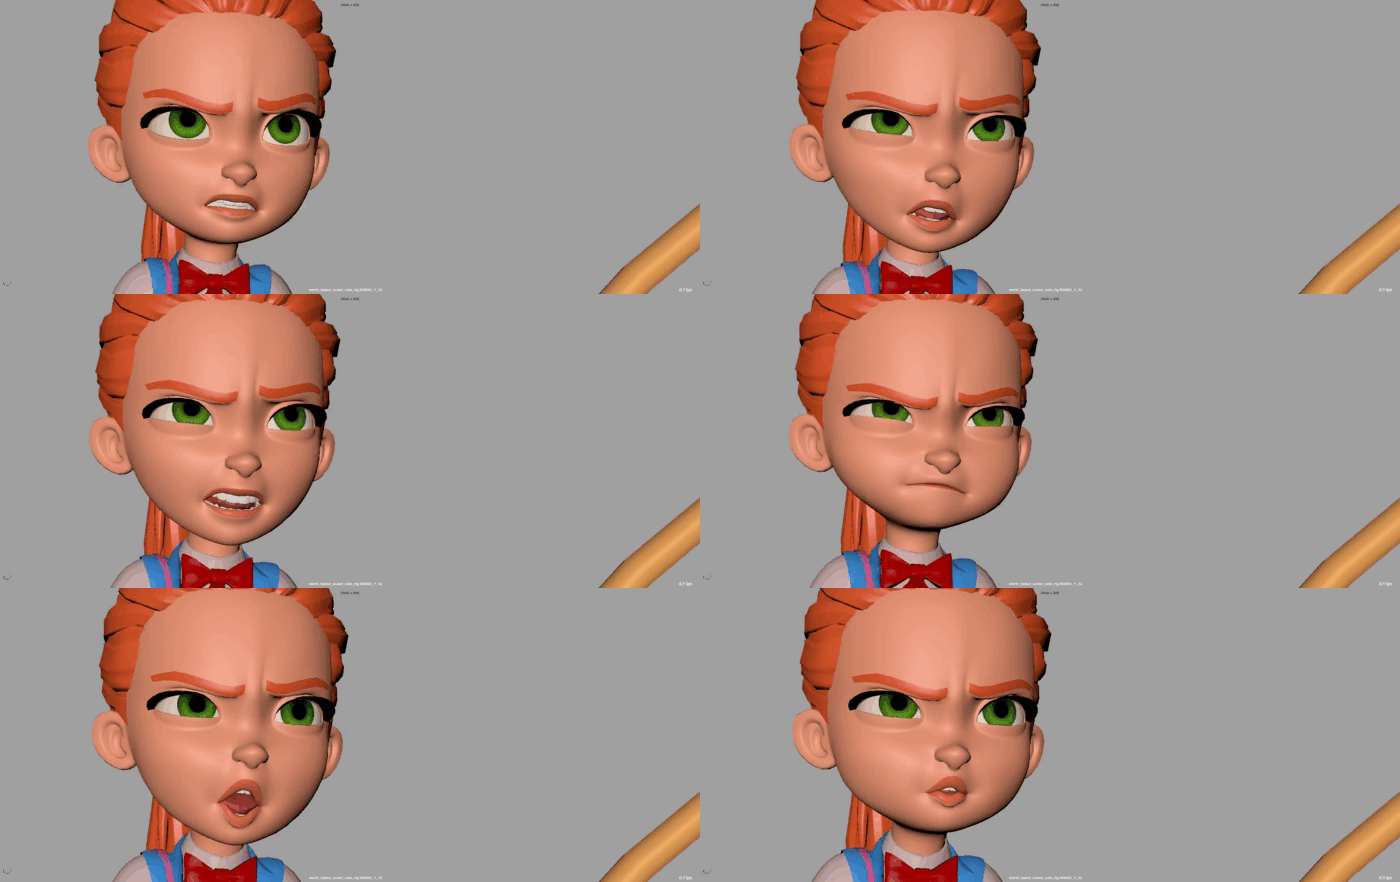
Here you are detailing your animation, but you are still working in stepped mode. Some more subtle movements can be implemented in spline mode, to show the nuances if necessary.
At this stage, you need to show all the accents and nuances of your future animation.
Once you get the approval of this stage, you can move on to the splines.
Spline
This is the transition stage between blocking and polishing your animation. Here you mainly work with the Graph Editor and bring your animation to a more smoothed appearance.
Polish
And finally, you need to finalize your animation.
Now you need to work on the arches, improve your spacing and other technical aspects to make your animation as attractive as possible!
At this stage, you can use minor face controls to fine-tune the facial animation.
